Chapter 1: Setup Sprint
Before we start building, let’s make sure your CRE environment is set up correctly. We’ll follow the official setup instructions from cre.chain.link.
Step 1: Create a CRE Account
- Go to cre.chain.link
- Create an account or sign in
- Access the CRE platform dashboard

Step 2: Install the CRE CLI
The CRE CLI is essential for compiling and simulating workflows. It compiles your TypeScript/Go code into WebAssembly (WASM) binaries and allows you to test workflows locally before deployment.
Option 1) Automatic installation
The easiest way to install the CRE CLI is using the installation script:
macOs/Linux
curl -sSL https://cre.chain.link/install.sh | sh
Windows
irm https://cre.chain.link/install.ps1 | iex
Option 2) Manual Installation
If you prefer to install manually or the automatic installation doesn’t work for your environment, follow the installation instructions from the Official Chainlink Documentation for your platform:
Verify installation:
cre --version
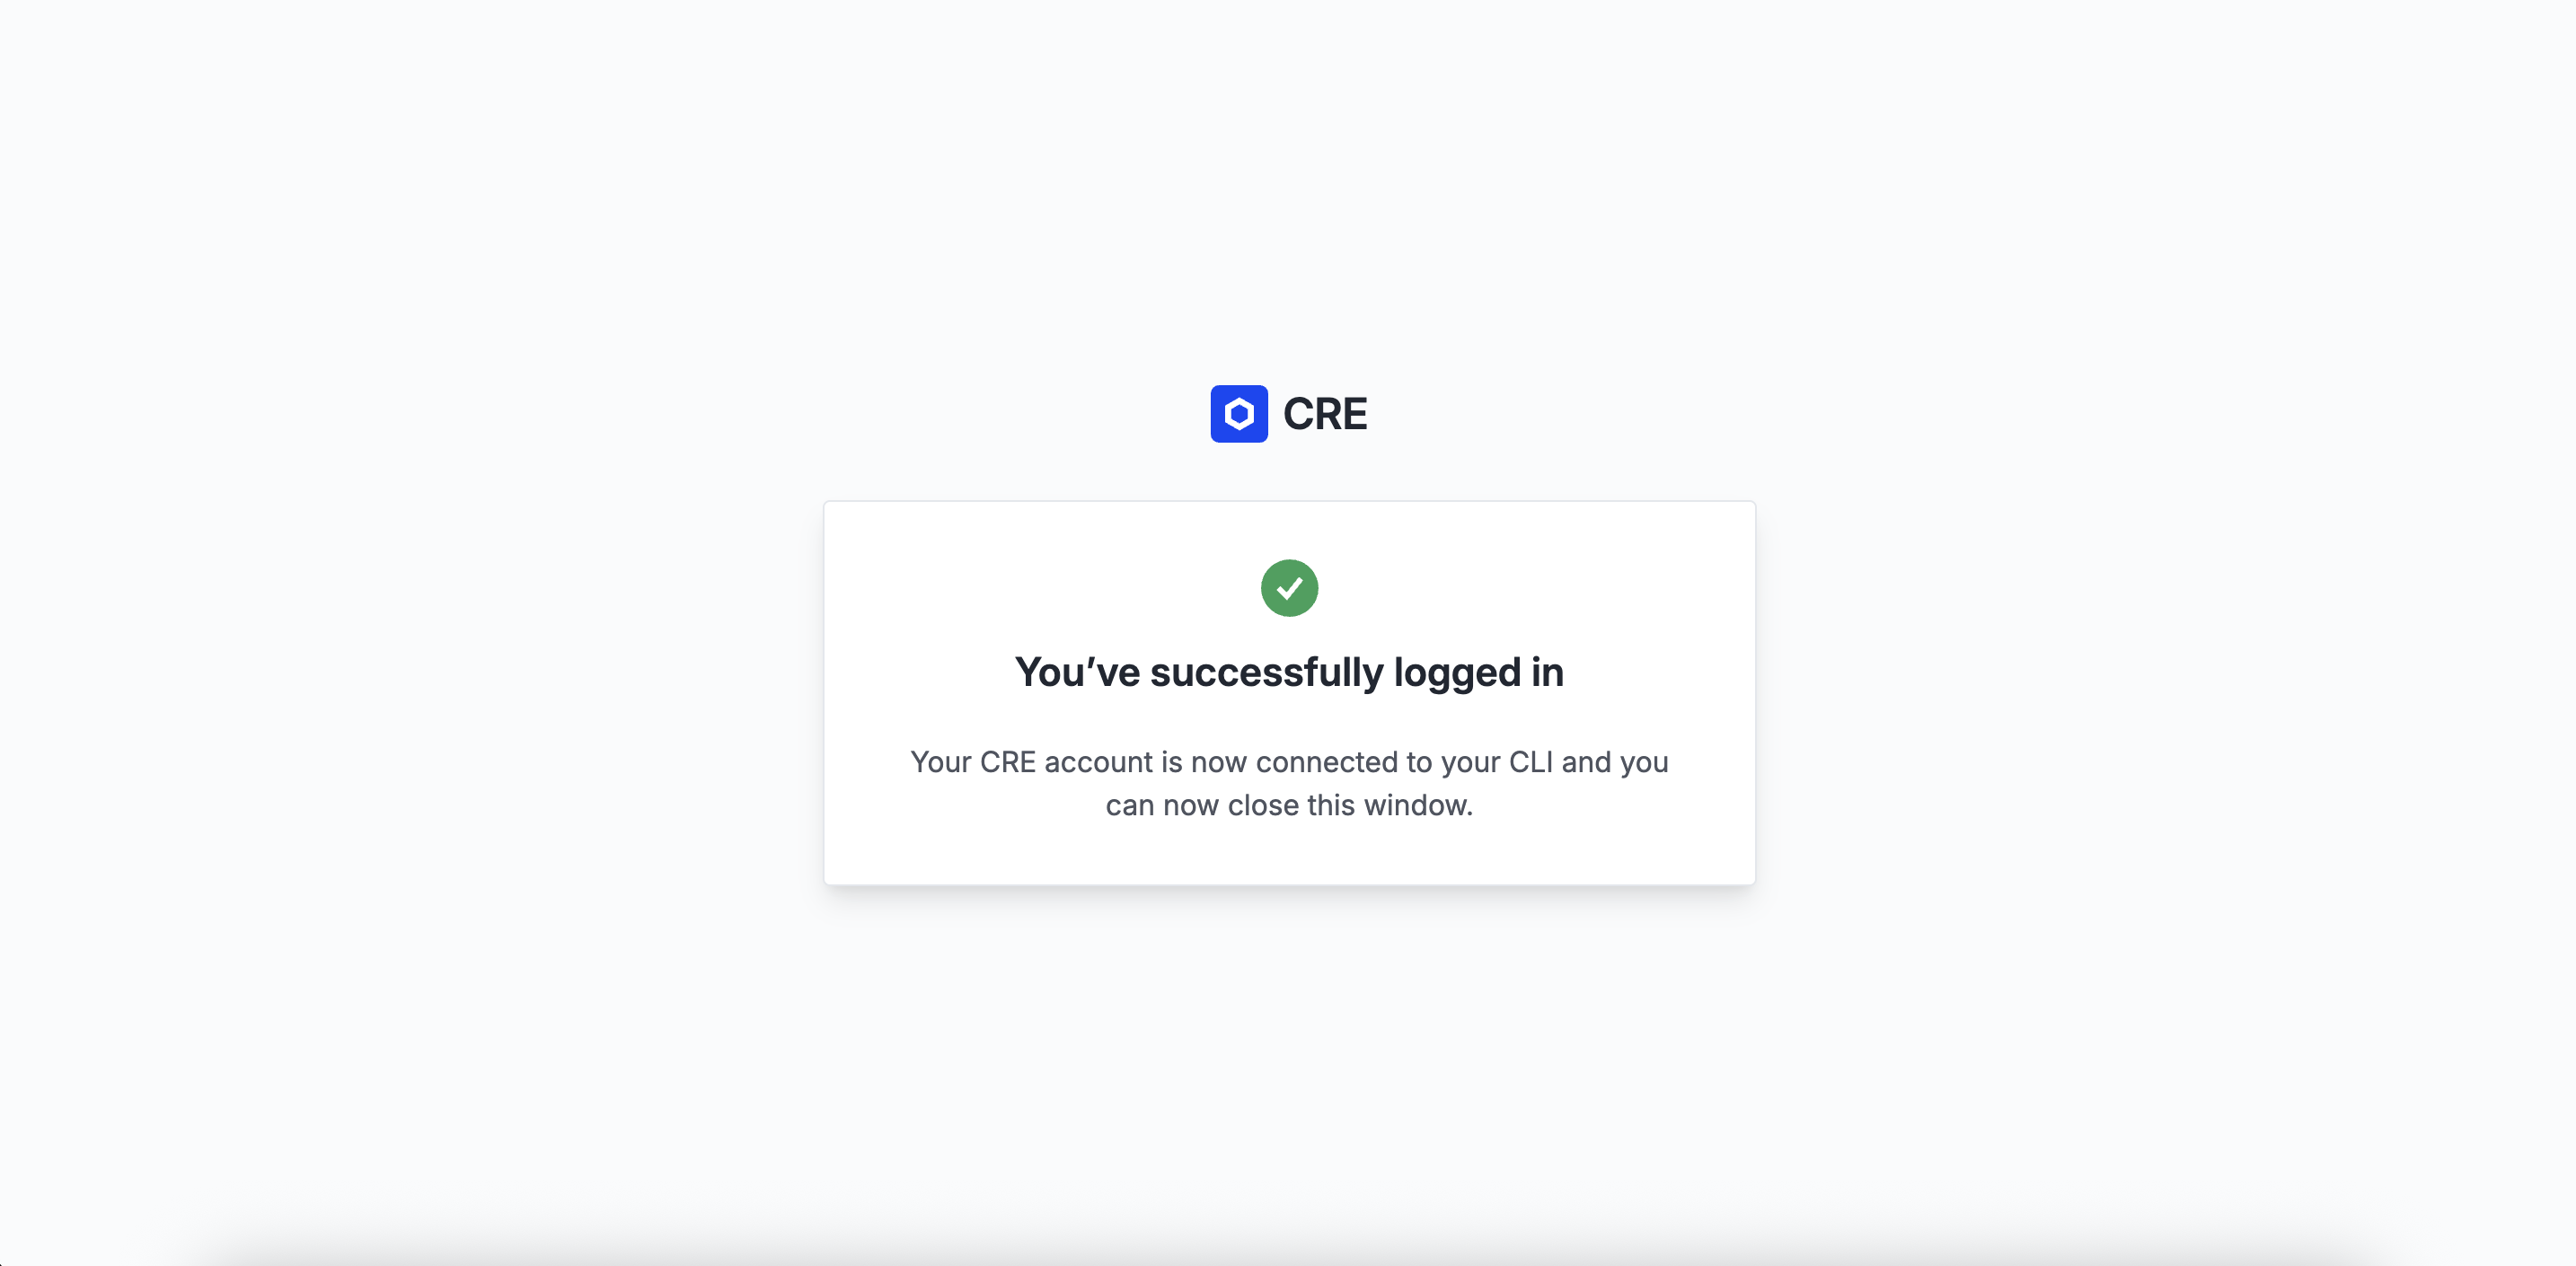
Step 3: Authenticate with CRE CLI
Authenticate your CLI with your CRE account:
cre login
This will open a browser window for you to authenticate. Once authenticated, your CLI is ready to use.
Check your login status and account details with:
cre whoami
What’s Now Possible?
Now that your CRE environment is set up, you can:
-
Create new CRE projects/workflows: Start by running the
cre initcommand -
Compile workflows: The CRE CLI compiles your TypeScript/Go code into WASM binaries
-
Simulate workflows: Test your workflows locally with
cre workflow simulate -
Deploy workflows: Once ready, deploy to production (Early Access)