CRE Project Setup
Let’s create your first CRE project from scratch using the CLI.
Step 1: Initialize Your Project
Open your terminal and run:
cre init
You’ll see the CRE initialization wizard:
🔗 Welcome to CRE!

✔ Project name? [my-project]:
Type: prediction-market and press Enter.
? What language do you want to use?:
  ▸ Golang
    Typescript
Select: Typescript using arrow keys and press Enter.
✔ Typescript
Use the arrow keys to navigate: ↓ ↑ → ←
? Pick a workflow template:
  ▸ Helloworld: Typescript Hello World example
    Custom data feed: Typescript updating on-chain data periodically using offchain API data
    Confidential Http: Typescript example using the confidential http capability
Select: Helloworld and press Enter.
✔ Workflow name? [my-workflow]:
Press Enter to accept the default my-workflow.
🎉 Project created successfully!

Next steps:
  cd prediction-market
  bun install --cwd ./my-workflow
  cre workflow simulate my-workflow
Step 2: Navigate and Install Dependencies
Follow the instructions from the CLI:
cd prediction-market
bun install --cwd ./my-workflow
You’ll see Bun installing the CRE SDK and dependencies:
$ bunx cre-setup

✅ CRE TS SDK is ready to use.

+ @types/bun@1.2.21
+ @chainlink/cre-sdk@1.0.1

30 packages installed [5.50s]
Step 2.5: Set Up Environment Variables
The cre init command creates a .env file in the project root. This file will be used by both CRE workflows and Foundry (for smart contract deployment). Let’s configure it:
###############################################################################
### REQUIRED ENVIRONMENT VARIABLES - SENSITIVE INFORMATION                  ###
### DO NOT STORE RAW SECRETS HERE IN PLAINTEXT IF AVOIDABLE                 ###
### DO NOT UPLOAD OR SHARE THIS FILE UNDER ANY CIRCUMSTANCES                ###
###############################################################################

# Ethereum private key or 1Password reference (e.g. op://vault/item/field)
CRE_ETH_PRIVATE_KEY=YOUR_PRIVATE_KEY_HERE

# Default target used when --target flag is not specified (e.g. staging-settings, production-settings, my-target)
CRE_TARGET=staging-settings

# Gemini configuration: API Key
GEMINI_API_KEY_VAR=YOUR_GEMINI_API_KEY_HERE
⚠️ Security Warning: Never commit your
.envfile or share your private keys! The.gitignorefile already excludes.envfiles.
Replace the placeholder values:
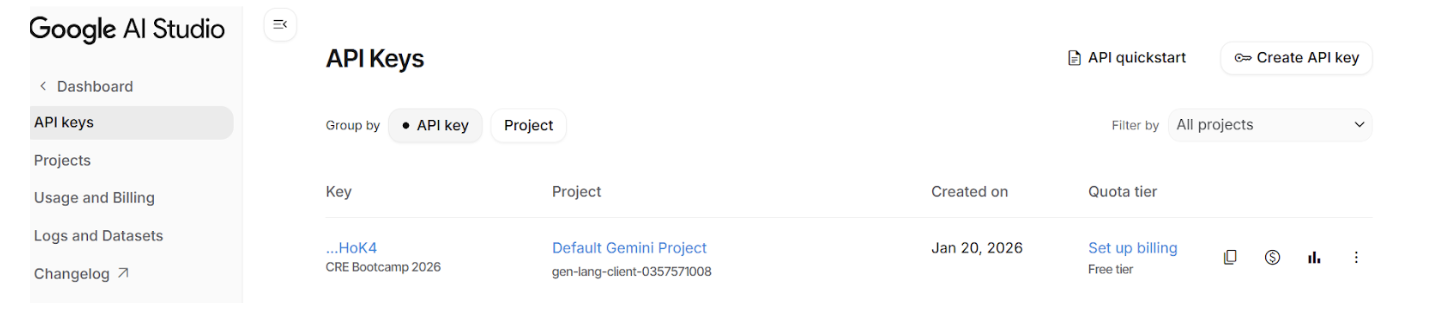
YOUR_PRIVATE_KEY_HERE: Your Ethereum private key (with0xprefix)YOUR_GEMINI_API_KEY_HERE: Your Google Gemini API key (get one from Google AI Studio)
Note about Gemini API key
Make sure to set up billing for your Gemini API key on the Google AI Studio dashboard to avoid getting the Gemini API error: 429 later. You will need to connect your credit card to activate billing, but no worries - the free tier is more than enough to complete this bootcamp.
Step 3: Explore the Project Structure
Let’s see what cre init created for us:
prediction-market/
├── project.yaml            # Project-wide settings (RPCs, chains)
├── secrets.yaml            # Secret variable mappings
├── .env                    # Environment variables
└── my-workflow/            # Your workflow directory
    ├── workflow.yaml       # Workflow-specific settings
    ├── main.ts             # Workflow entry point ⭐
    ├── config.staging.json # Configuration for simulation
    ├── package.json        # Node.js dependencies
    └── tsconfig.json       # TypeScript configuration
Key Files Explained
| File | Purpose |
|---|---|
project.yaml | RPC endpoints for blockchain access |
secrets.yaml | Maps environment variables to secrets |
.env | Environment variables for CRE and Foundry |
workflow.yaml | Workflow name and file paths |
main.ts | Your workflow code lives here |
config.staging.json | Configuration values for simulation |
Step 4: Run Your First Simulation
Now for the exciting part - let’s simulate the workflow:
cre workflow simulate my-workflow
You’ll see the simulator initialize:
[SIMULATION] Simulator Initialized

[SIMULATION] Running trigger trigger=cron-trigger@1.0.0
[USER LOG] Hello world! Workflow triggered.

Workflow Simulation Result:
 "Hello world!"

[SIMULATION] Execution finished signal received
🎉 Congratulations! You just ran your first CRE workflow!
Step 5: Understand the Hello World Code
Let’s look at what’s inside my-workflow/main.ts:
// my-workflow/main.ts

import { cre, Runner, type Runtime } from "@chainlink/cre-sdk";

type Config = {
  schedule: string;
};

const onCronTrigger = (runtime: Runtime<Config>): string => {
  runtime.log("Hello world! Workflow triggered.");
  return "Hello world!";
};

const initWorkflow = (config: Config) => {
  const cron = new cre.capabilities.CronCapability();

  return [
    cre.handler(
      cron.trigger(
        { schedule: config.schedule }
      ),
      onCronTrigger
    ),
  ];
};

export async function main() {
  const runner = await Runner.newRunner<Config>();
  await runner.run(initWorkflow);
}

main();
The Pattern: Trigger → Callback
Every CRE workflow follows this pattern:
cre.handler(trigger, callback)
- Trigger: What starts the workflow (CRON, HTTP, Log)
- Callback: What happens when the trigger fires
Note: The Hello World uses a CRON Trigger (time-based). In this bootcamp, we’ll build with HTTP Trigger (Day 1) and Log Trigger (Day 2) for our prediction market.
Key Commands Reference
| Command | What It Does |
|---|---|
cre init | Creates a new CRE project |
cre workflow simulate <name> | Simulates a workflow locally |
cre workflow simulate <name> --broadcast | Simulates with real on-chain writes |